

實作之前準備:
- 一個在 Heroku 的基本 rails 專案
- 閱讀:實作開發模式 Action Mailer 寄信功能 with Sidekiq
- 實作版本:ruby 2.6.3 以及 Rails 6.0.2
第一步: 安裝 Redis 在 Heroku
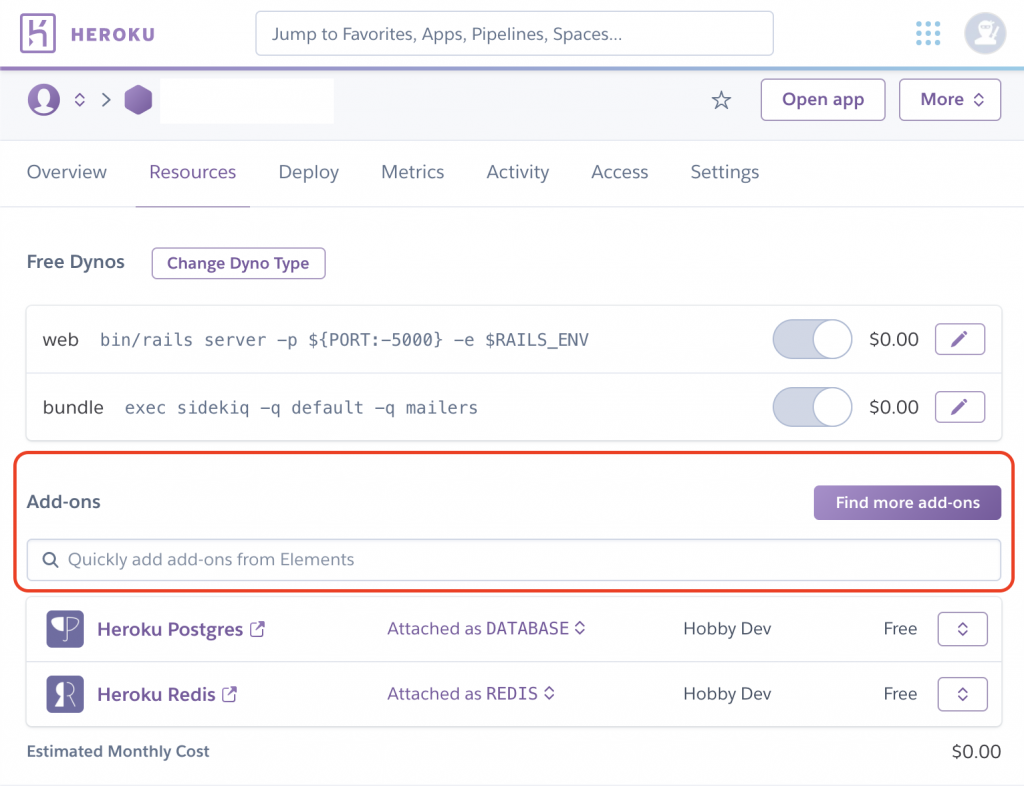
登入 Heroku 後,在 dashboard 上點選 Resources 頁面,就會看到 Add-ons 的搜尋欄位。
 許多部落格的安裝教學會推薦安裝 Redis To Go,但如果你發現背景任務一直卡在 佇列 queue 不動,也許你的 sidekiq 跟 redis server 有版本不符的問題。
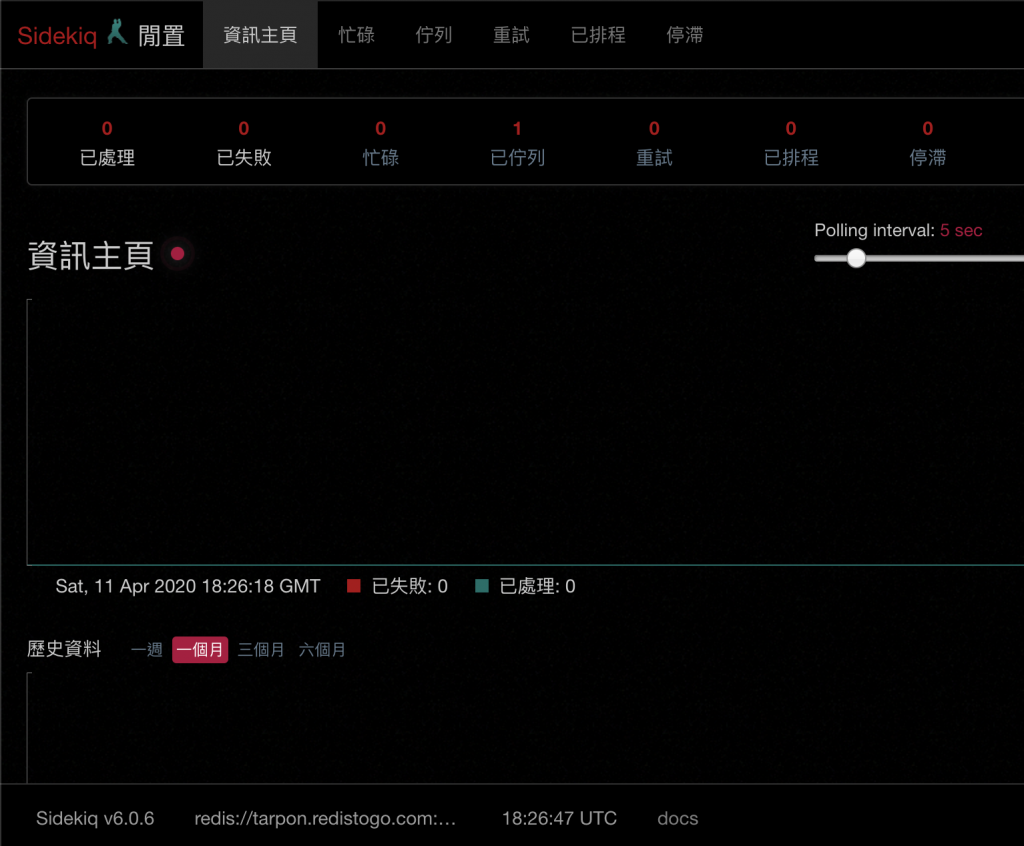 在終端機輸入 heroku logs -t 尋找是否有錯誤
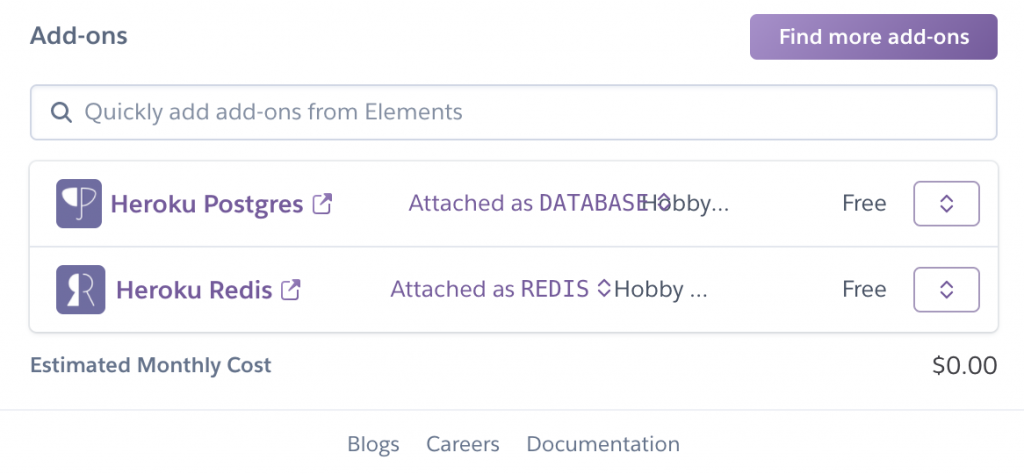
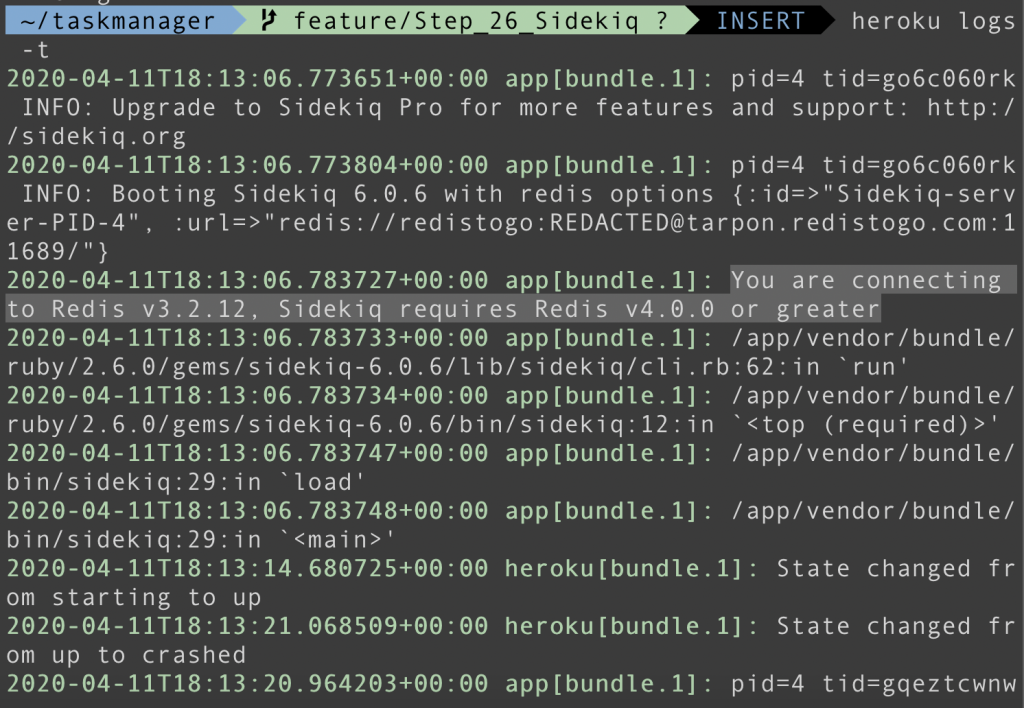 可以看出因為版本太舊, Redis To Go 不能用了。解決辦法是必須換成 Heroku Redis,因為 Heroku Redis 目前提供的預設版本是 Redis 5.0,符合目前 Sidekiq 的要求。
第二步: 設定環境變數
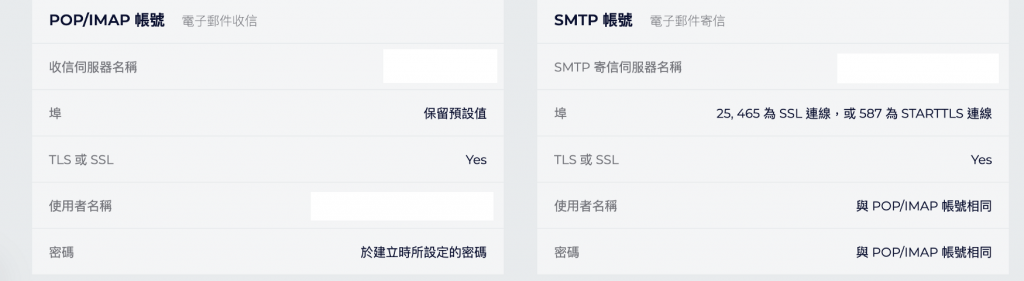
從 gandi 取得 SMTP 以及帳號、密碼資訊之後,再修改 production.rb 的設定檔,便可以利用 gandi 的 SMTP 伺服器寄信。 當然帳號及密碼都是需要利用環境變數存放,可以試試 figaro 來設定你自己的環境變數。
  config.action_mailer.default_url_options = { host: 'http://localhost:3000' }
  config.action_mailer.delivery_method = :smtp
  config.action_mailer.smtp_settings = {
    address: ENV['smtp_address'],
    port: 587,
    domain: '[email protected]',
    user_name: ENV['smtp_username'],
    password: ENV['smtp_password'],
    authentication: 'plain',
    enable_starttls_auto: true
  }
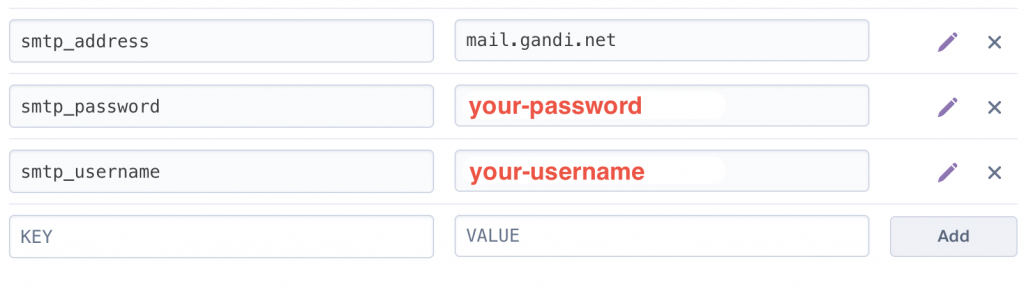
在 dashboard 上點選 Settings 頁面,再點選 Reveal Config Vars 。接著我們需要把 SMTP address以及帳號、密碼資訊新增到 Heroku 如下圖。
第三步: 新增 Procfile
在 rails root 建立 Procfile 及輸入以下指令
# root
bundle exec sidekiq -q default -q mailers
“ Heroku apps include a Procfile that specifies the commands that are executed by the app on startup. You can use a Procfile to declare a variety of process types, including: ” 截自 Heroku Dev Center
完成以上三個步驟就大功告成了!
Comments